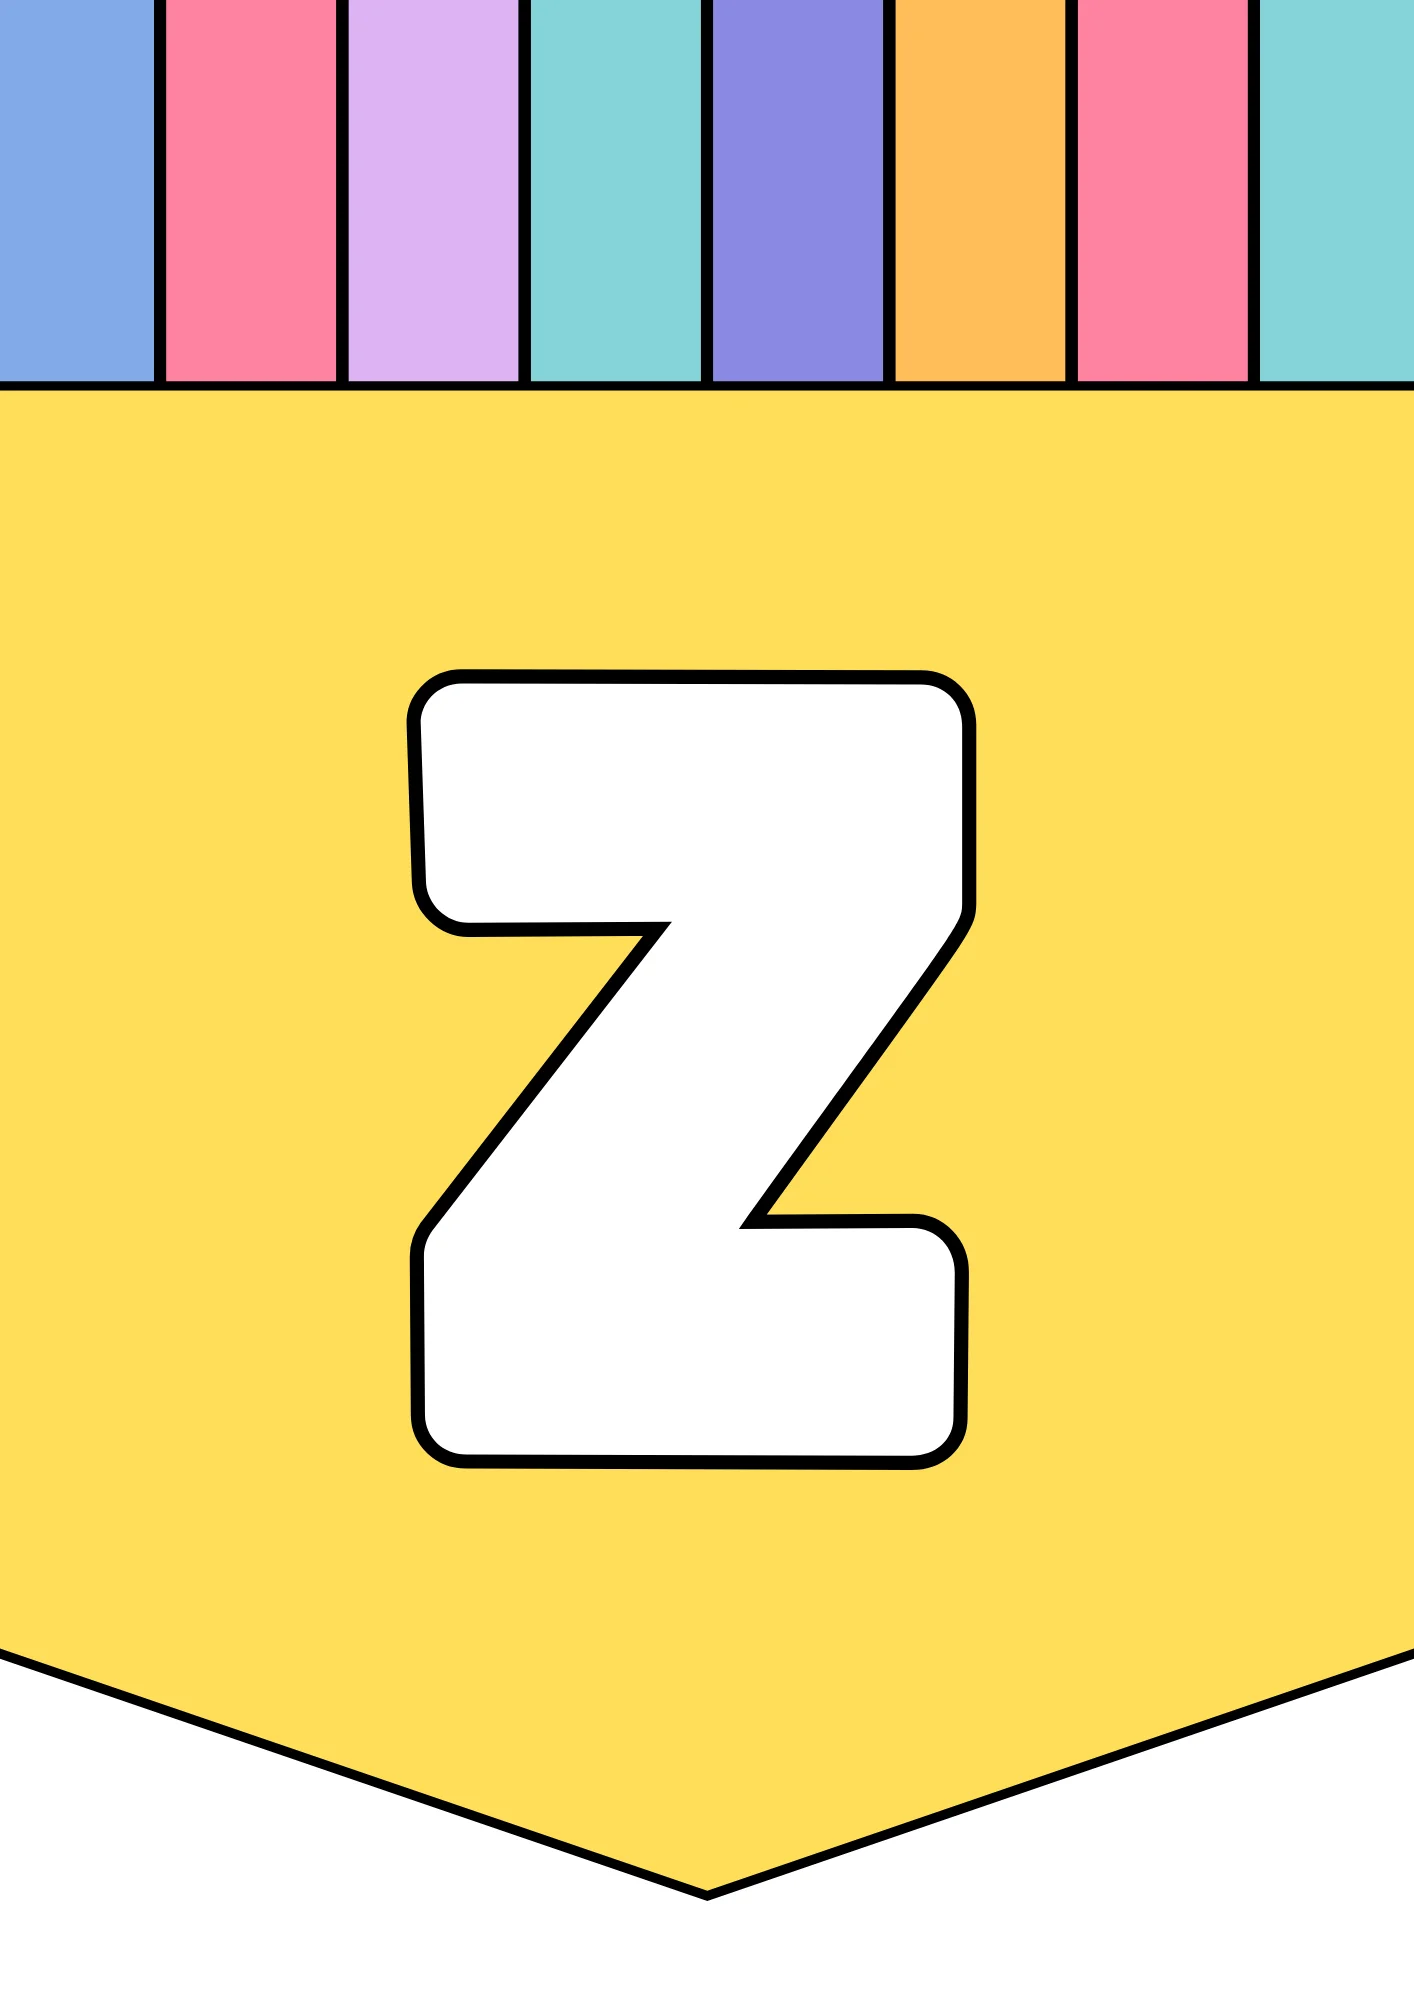
Follow these steps to draw a bubble letter Z:
Printable templates can be a helpful tool for practicing and perfecting your bubble letters. These templates provide a structured outline that you can trace or use as a reference. Downloadable templates are available online and can make the learning process easier and more enjoyable.
Drawing a bubble letter Z is a straightforward and enjoyable process that involves a few key steps. Start by sketching a standard Z shape on your paper, ensuring that the lines are even and well-proportioned. Next, draw a parallel line around the Z, making it wider and rounded to create the bubble effect. Pay special attention to smoothing out the corners and edges, as the bubble style is characterized by its soft, curvy appearance. Once the bubble outline is complete, erase any internal guidelines or stray marks to clean up the drawing. Finally, add color and shading to your bubble letter Z, making it pop off the page with vibrancy and dimension.
To draw a Bubble Letter Z, you will need a pencil for sketching the initial shape, an eraser for refining lines, paper to draw on, and markers or colored pencils for adding color and depth to your finished letter.
To make your Bubble Letter Z look more 3D, you can add shading to one side of the letter and use a slightly darker color to create shadows. Additionally, adding highlights on the opposite side can give the appearance of light reflecting off the surface, enhancing the three-dimensional effect.
Yes, using a printable template can be very helpful when drawing a Bubble Letter Z. Templates provide a guideline for proportions and shapes, making it easier to achieve a consistent and professional-looking bubble letter. You can find many free printable templates online to practice and perfect your bubble lettering skills.

Drawing a bubble letter z is an enjoyable and creative process that can add a fun element to your lettering projects. To begin, lightly sketch a standard lowercase z on your paper using a pencil. This initial outline will serve as a guide for your bubble letter. Make sure the lines are even and well-proportioned, as this will help create a balanced final letter.
Next, draw a parallel line around the z, maintaining a consistent distance to form the bubble effect. The outer lines should be rounded and smooth, giving the letter its characteristic bubbly appearance. It's important to pay attention to the curves and corners, ensuring they are soft and flowing. This step transforms the simple z into a playful bubble letter.
Once the bubble outline is complete, go over it with a thicker marker or pen to define the shape. Carefully erase the inner guidelines and any stray pencil marks, leaving only the bold, rounded edges of your bubble letter z. This step helps to clean up the drawing and makes the letter stand out more prominently on the page.
To add depth and dimension, you can use different colors or shading techniques. Apply a darker shade on one side of the z to create shadows and a lighter shade or white highlights on the opposite side to mimic light reflections. This technique will give your bubble letter a three-dimensional look, making it more visually appealing and dynamic.
For those who prefer a more structured approach or need extra practice, using printable templates can be extremely beneficial. Printable templates provide a pre-drawn outline of the bubble letter z, offering a clear and consistent guide to follow. You can download various templates online, print them out, and practice drawing within the provided shapes. This method is particularly useful for beginners looking to master the art of bubble lettering.
By following these steps and utilizing printable templates, you can create impressive and eye-catching bubble letters with ease. Whether for personal projects, school assignments, or artistic endeavors, bubble letters add a unique and playful touch to any text. With practice, you'll be able to draw bubble letters confidently and creatively.